Hello friends! Seems I've been absent for some time. So much has happened in the past few months that my head has finally stopped spinning! There were many times I wished and hoped for the energy to post (or even simply just the time to do so) but I was left without. Due to rather unfortunate circumstances for the owner of the house we rented, we were forced to move rather suddenly. While we were aware of a possible foreclosure on the home, we hoped for the best and at very least to finish out our lease. It wasn't to be, but luckily enough for us, we found an even better house just two blocks away (yes, literally) and everything fell into place for us quickly.
It wasn't long ago that I gave a tour of my small kitchen and it's compact charm. However, the lack of counter space had been a problem from day one, so imagine my squeals of glee upon moving into our new kitchen, er - I mean house: nearly 4 times as much counter space! And did I mention that counter space is granite? Oh yes, granite counter-tops! Stainless appliances! Drawers for all my tools! Space for my mixer and food processor with room to spare! It was a dream come true. I was overjoyed and could not wait to get in there and make something.
Then something happened. I totally burnt out. Moving has a way of doing that to you, especially when you just moved 6 months ago. I was drained. I just wanted to sit down and relax, yet I couldn't because of all the unpacking to do! It sounds so easy but for some reason, that part overwhelms me. So much so that I just wanted to not do a darn thing. The kitchen was calling but I wasn't answering. I had to get my groove back. In fact, I was surprised at how difficult it was for me to adjust to my new kitchen. I have so much more space that I don't quite know what to do with myself! I actually found myself in a bit of a slump; a tiny part of me missed my old kitchen - the light, the colors, my favorite kitchen pieces on display. None of it was the same and even though I thought I could easily transfer certain aspects of my old kitchen (such as the decor) I found it just wouldn't work in the new one. So it's been a bit of an adjustment on many levels. I am however, very grateful for it and have regained my footing by making some of my tried and true favorites in the new diggs, things that have already been blogged about, so not much new to show.
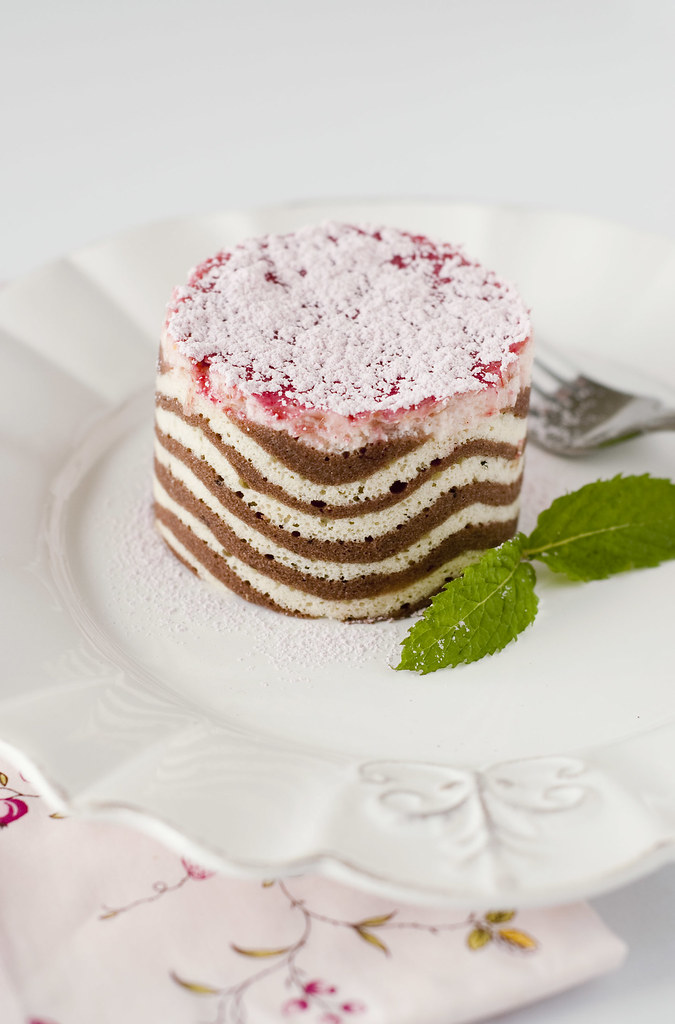
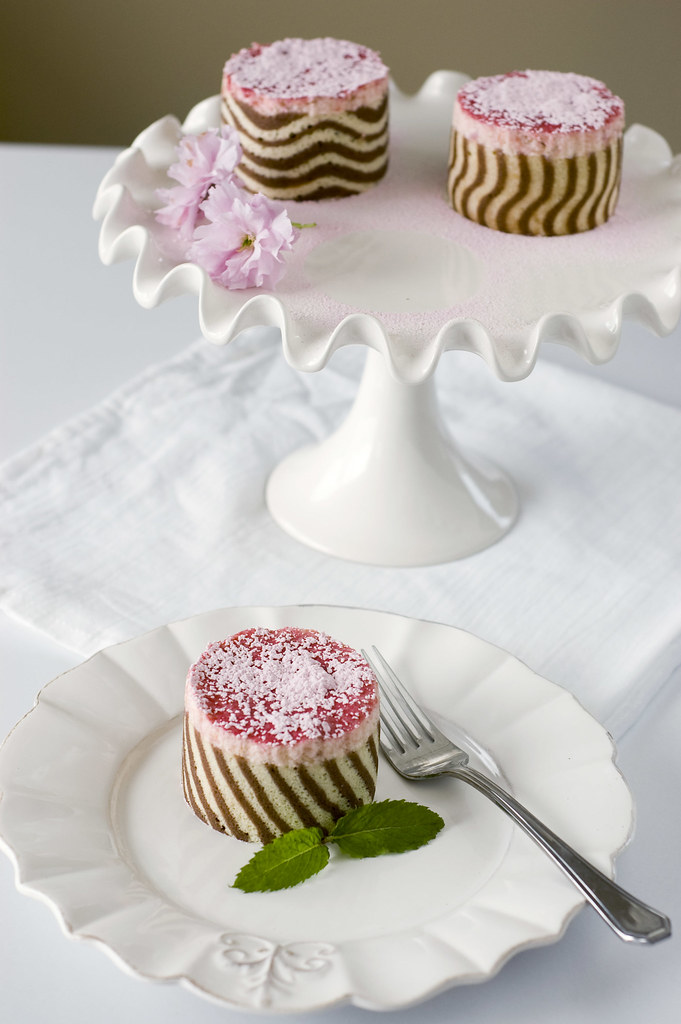
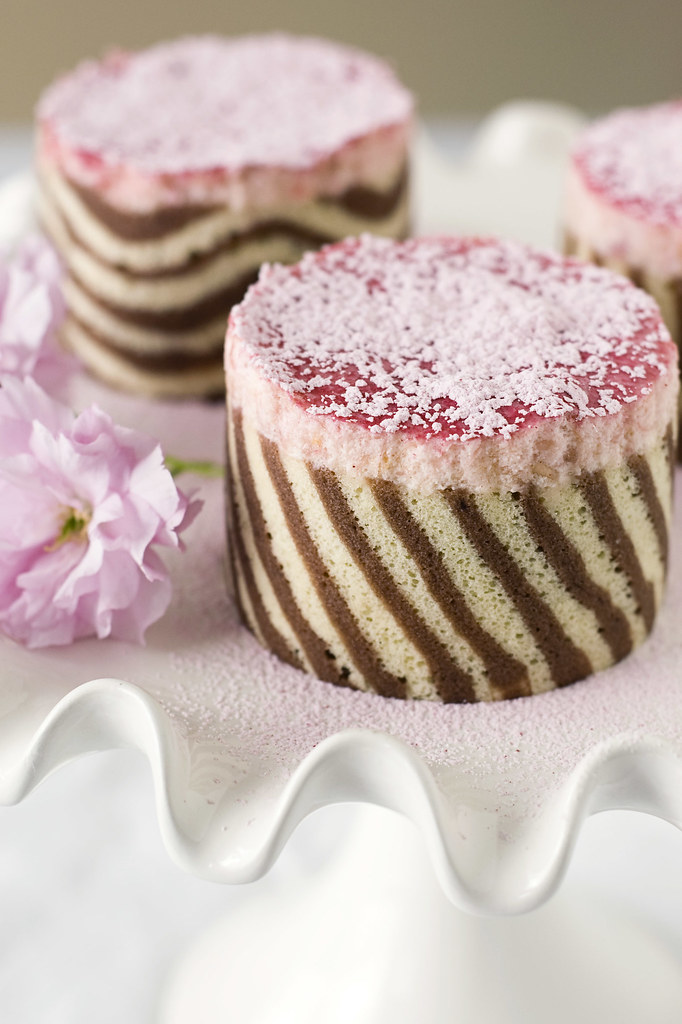
I do confess that I made these incredible mousse cakes just before the move. At the time I couldn't wait to post about them! Then life had other plans for a while. Looking at the pictures still has me just as excited as the day they were made. These were so much fun to make. The recipe comes from the always inspiring Helen from Tartelette. I had been browsing older entries on her blog and as soon as I saw these beauties I knew I had to make them. At the time I came across them it was still late winter and rhubarb wasn't anywhere to be found. Fast forward to early spring and I had a project on my hands!
These little mousse cakes might seem intimidating but they really are more time consuming than difficult to produce. They can, however, be made in steps over a couple of days which is always great if you don't have a whole afternoon to dedicate to making them. My favorite part was working with the tulip paste. You can make any design you wish and can really have a lot of fun with it!
The end result was unlike any dessert I'd ever had. The mousse was more lemony than I expected but so smooth and delicious. The rhubarb flavor was perfect: not too tart and not too sweet either. Overall these were satisfying and refreshing on both the eyes and palate.
A few notes on this recipe:
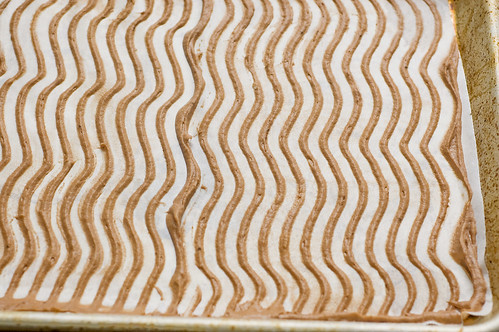
- To get the lines with the tulip paste: there are two ways to go about it. You can pipe the tulip paste from a pastry bag to make any design you wish (using a very small tip) or you can evenly spread the tulip paste onto your lined baking sheet and drag a pastry comb through it. I tried both and liked both methods. Spreading and using the pastry comb is best for getting evenly spaced lines and with the pastry bag I was able to make some fun designs.
- I ended up with much more tulip paste and ribbon cake than needed. That being said, I'm hesitant to say you can halve the recipes for those - better to have too much than too little. I froze my extra (already baked and cut, ready to put into the forms) to use another time for an easy, impressive dessert.
- I used 3-inch diameter forms that are 2-inches tall (cut pvc pipe lined with parchment) and had enough mousse to make 3 completed cakes. If you want to make more than 3 servings of that size I would definitely recommend doubling the mousse recipe
- The tops were dusted with powdered sugar that had been colored with powdered food coloring, as Helen did in her original recipe. Do this just before serving as the moisture from the mousse will dissolve the powdered sugar (as you can see in the pictures this was already happening as I worked quick as I could - the darker magenta color on top is from the absorbed sugar)
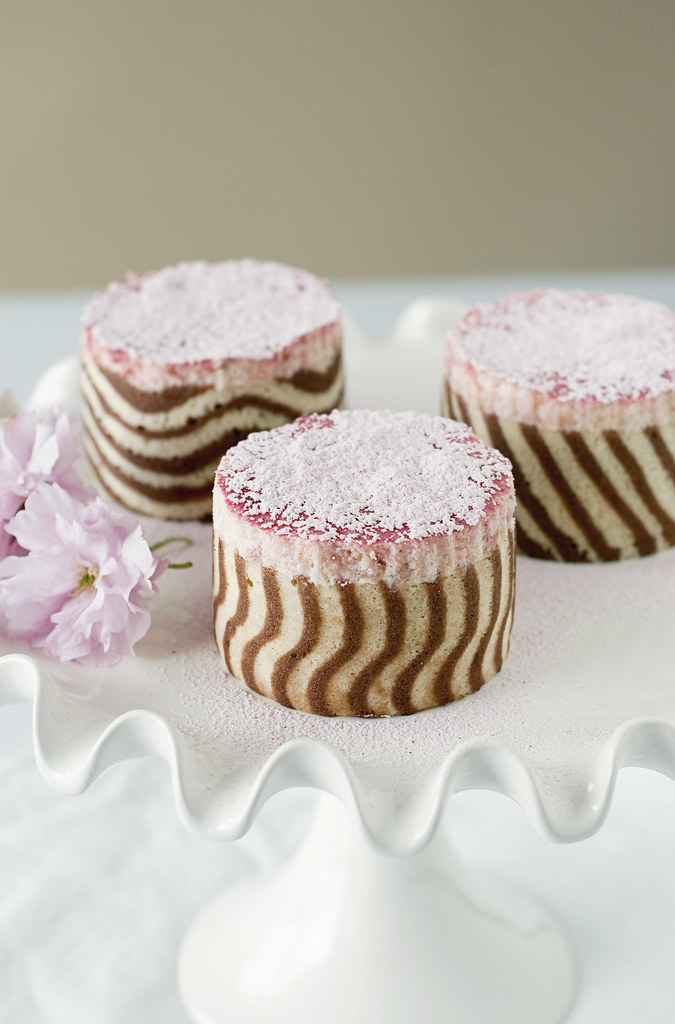
Lemon Rhubarb Mascarpone Mousse Cake
from Tartelette
for the tulip paste:
4 ounces unsalted butter, softened
4 ounces powdered sugar, sifted
1/2 cup egg whites, at room temperature (approximately 3-4)
4 ounces all purpose flour, sifted
1 1/2 tablespoons cocoa powder (dutch or natural, doesn't matter)
Cream the butter and powdered sugar together in a stand mixer fitted with the paddle attachment. Add egg whites and mix briefly to incorporate. Sift the flour and cocoa powder together; add to the butter mixture and mix until incorporated. Do not over mix. Use right away or store in the refrigerator, taking it out 30 minutes before you plan to use it.
Pour the batter into a piping bag fitted with a small plain tip. Line a baking sheet with parchment paper. Using a ruler set on top of the sheet as your guide, pipe lines with the tulip paste onto the parchment paper, or any shape you desire. You can also smooth a large amount of the paste on the paper and using a ruler set on the rim of the pan, use a decorator comb to drag on the batter to form lines.
Set the baking sheet in the freezer until the tulip paste is firm. Keep frozen until you are ready to pour the cake batter on top.
for the ribbon sheet cake:
4 ounces almond meal
3 ounces powdered sugar
1 ounce all purpose flour
4 eggs
1 egg yolk
3 egg whites
1 ounce granulated sugar
1 ounce melted unsalted butter
In the bowl of a stand mixer fitted with the paddle attachment, beat the almonds, powdered sugar, flour and 2 eggs until combined. Scrape down the sides and add the remaining 2 eggs and the yolk until well combined. Set aside.
Whip the egg whites in a separate bowl until they appear foamy; add the granulated sugar in a steady stream and whip until you get a glossy meringue. Fold the meringue mixture into the egg/flour mixture. Stir in the melted butter and fold until all the ingredients are well incorporated but without deflating your meringue base.
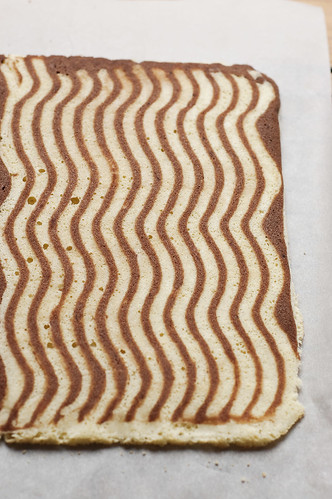
Remove the baking sheet with the tulip paste from the freezer and pour the cake batter on top. Bake at 450F for about 6-8 minutes or until the sponge begins to brown. Remove from the oven, let cool a few minutes and invert your cake onto a piece of parchment paper. Peel off the parchment paper and let cool before using.
You can keep it wrapped in the refrigerator for up to a week or in the freezer for a month. Bring it back to room temperature before you fit it in the pastry rings.
for the mousse:
1 egg, separated
2 tablespoons sugar
2 oz mascarpone cheese, at room temperature
75 ml. heavy cream
1 tsp. powdered gelatin (1/2 sheet) + 1 Tb water
zest and juice of one lemon
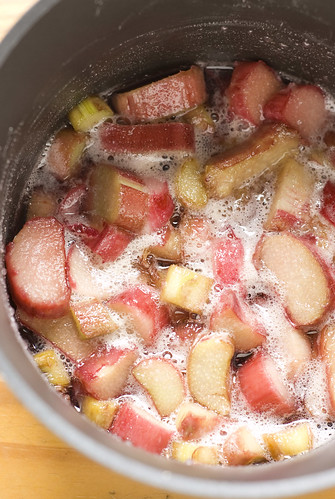
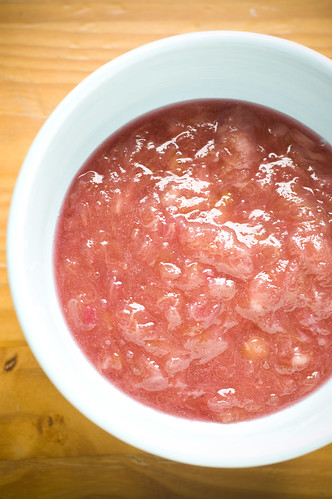
1 cup cooked rhubarb**
Sprinkle the gelatin over the water, stir and let sit to "bloom". In a large mixing bowl, whisk the mascarpone with the sugar; add 1 egg yolk and whisk until well incorporated. Heat the gelatin for about 10 seconds in the microwave and quickly whisk it in the mascarpone batter. Add the lemon juice and zest. Whip the egg white until stiff; fold into the mascarpone mixture. Add the cooked rhubarb. Whip the heavy cream to medium stiff peaks, and fold into the mascarpone.
**For the cooked rhubarb, Helen recommends 1 cup of chopped fruit to 1/3 cup sugar, cooked over low-medium heat until softened and mushy.
Assembly:
Line 6-8 pastry rings (depending on their size, mine are 3 inches wide and 2 inches tall) with parchment paper, cut 1.5 inches wide strips of cake and cut them to fit around the inside of your rings. Divide the mousse inside the rings and let set for at least 2 hours or overnight.
Enjoy!
