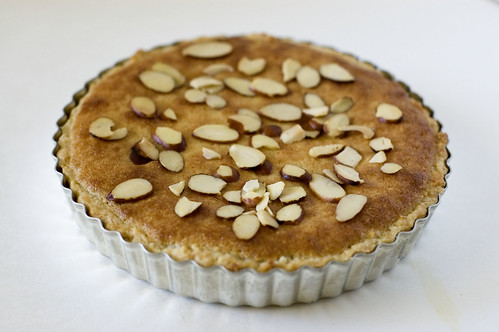
It's Daring Bakers time again! I'm a day late and several words short, but I will update that later. For now, I leave you a Bakewell Tart - my contribution to the June Daring Bakers challenge.
Sunday, June 28, 2009
Bakewell Tart
The June Daring Bakers' challenge was hosted by Jasmine of Confessions of a Cardamom Addict and Annemarie of Ambrosia and Nectar. They chose a Traditional (UK) Bakewell Tart... er... pudding that was inspired by a rich baking history dating back to the 1800's in England.
It's Daring Bakers time again! I'm a day late and several words short, but I will update that later. For now, I leave you a Bakewell Tart - my contribution to the June Daring Bakers challenge.
Wednesday, June 24, 2009
That joie de vivre
It happens to us all. Maybe some of us more times in our lives than others. A point in time where you lose that joie de vivre, for whatever reason. Sometimes it's obvious as to why, other times, maybe not. Such a time has come for me in my life and it seems to be affecting so many facets of my being. Including my passion for baking, and taking photos as well as generally being able to be excited or interested in just about anything. I know this too, shall pass. It's the 'how long' it will linger that is the unknown, and also the hardest part. I am wise enough to know that life is cyclical and ever changing; what goes up must come down and eventually, will rise again. It's at this point where I step onto the conveyor belt of life and let it carry me until I can step off and walk again on my own two feet, hopefully happily skipping along as I go.
This all doesn't really have much to do with anything here, other than the fact that I have many things to blog about, but very little drive to do so. However, that conveyor belt of life that's always moving, never stopping, has carried me along to this point and it is now time I write about strawberries. (Forgive my lack of enthusiasm, but trust that it is there, somewhere underneath it all)
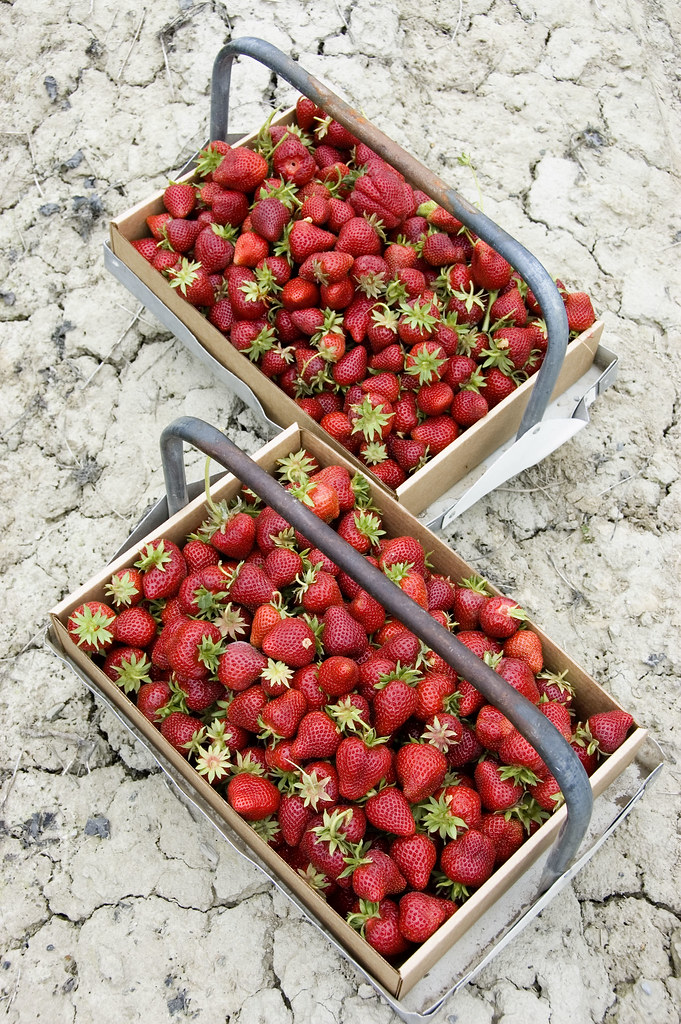
A couple weekends ago I loaded my two little ones into the car and made a drive north to a U-pick berry farm. It was the opening weekend and I was looking forward to getting my hands on as many ripe berries as I could. I wasn't exactly sure what I wanted to do with them, I just knew I wanted them. It turned out to be a great time to go - the weather was overcast, so there weren't many people there. There were rows and rows of bright red strawberries just aching to be picked.
It was hard to stop once our flats were full, but somehow I managed to realize enough was enough. In less than an hour we'd managed to pick 24 pounds of strawberries! Yes, that's right. 24 POUNDS! It sounds a little ridiculous saying it aloud, but it really didn't look like that much.
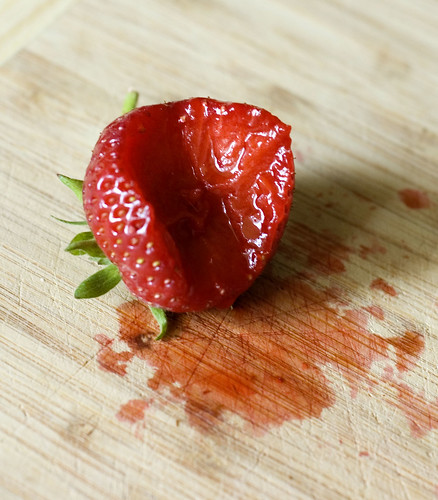
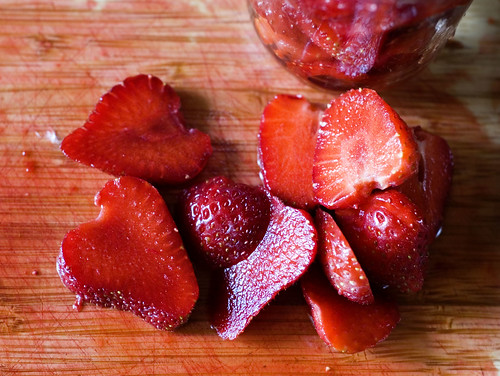
One thing that amazed me about these berries was not only the flavor (perfectly ripe!) but the color - deep red all the way through them, not a spot of white on the inside! These put any store bought strawberries to shame in every regard. Every time I took a bite of one, I couldn't help but marvel at the beautiful color inside.
Once I got home I decided I would make some jam. I've never really had much interest in making my own jam, but quickly realized, what else am I going to do with all these berries? I froze two gallon sized ziplock bags and still had several pounds left fresh. After a bit of research on jam making, I felt a little in over my head as far as canning went, but being that I have limited freezer and refrigerator space, I had no choice but to can them so that they could be kept in the pantry.
I ended up just following a recipe that came with the pectin I bought to keep things a bit simpler. I was shocked at the amount of added sugar (4 cups!) especially given the perfect sweetness of the ripe berries I had, but the recipe specifically stated not to alter the amount of sugar or fruit or basically anything unless you wanted to poison anyone who came within a 10 foot radius of your jam, so I stuck with the amount called for (ok it didn't exactly say that, but it was totally implied I tell you! Seriously, you wouldn't believe the amount of italicizing, bold emphasizing CAPITALIZATION and "exact amount" talk in this Sure Jell insert. It was rather comical.). I did however add something that wasn't called for despite the recipe's scare tactics: the entire contents of one luscious and lovely vanilla bean. For some reason, I couldn't resist and I'm glad I didn't. Something about seeing those little black flecks of vanilla bean gets me every time. I just love it and I think it added wonderful flavor to the jam.
I have to say, after being so intimidated by the canning process, it really isn't as bad or hard as it may seem. A bit time consuming, yes, but difficult - not really. If you have a large stock pot and a steamer, you don't need to go out and get any fancy canning equipment. Tongs are probably a requirement as well, otherwise it might be quite difficult to get your jars out of the boiling water.
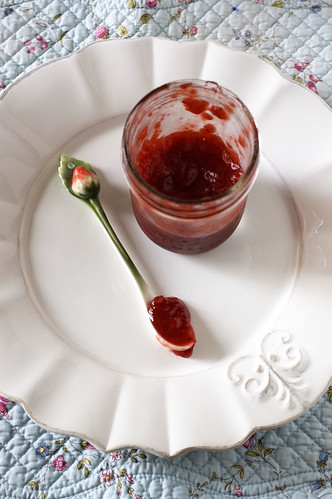
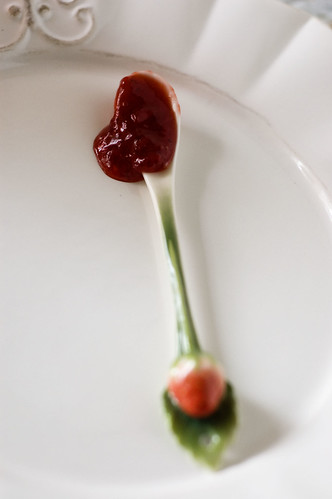
I'm happy to report that my jam turned out wonderfully! A bit on the sweet side, but incredibly good and so different from store bought jam in a way I can't quite describe. The second best part aside from the taste is the color! It's an amazingly bright, deep magenta color. So pretty.
If you have a U-pick berry farm near you, I highly encourage you to check it out!
Strawberry Vanilla Bean Jam
adapted from the Sure Jell pectin recipe insert
6 cups crushed/mashed ripe strawberries (about 6 pints whole)
4 cups sugar
1 vanilla bean
1 box pectin (powder, not liquid)
8-9 half pint canning jars (holds 1 cup) *I got 9 jars but the recipe says it only makes 8
1. If canning, wash your jars and lids in hot soapy water. Heat a large pot of boiling water (this will be to boil the jars - you'll need a good 1" - 2" of water above the tops of the jars, so make sure your pot is big)
2. Mash your fruit; you can make it as chunky or as smooth as you like, but preferably not pureed. Add your mashed fruit to a large saucepan.
3. In a seperate bowl, combine 1/4 cup of the sugar and the contents of the box of pectin; add to the mashed fruit in the saucepan. Add the contents of the vanilla bean and stir well. At this point you can add 1/2 teaspoon of butter to prevent foaming while the fruit boils. This is optional (I chose not to do this).
4. Bring the mixture to a full rolling boil over high heat, stirring constantly. Add the remaining sugar quickly and return to a full rolling boil for precisely 1 minute stirring all the while. Remove from heat and skim off any foam that has formed.
5. Ladle into your canning jars, filling to about 1/8" from the top. Wipe off any spillage around the rim and cover tightly with the two piece lids. *Note, if you don't want to process and fully can your jam, at this point you can just refrigerate it.
6. Carefully place your jars into the large pot of boiling water (being sure to have them resting on something so that they aren't sitting on the bottom of the pot, such as a steamer basket - they won't sit exactly flat, but it does the trick) being sure the water covers the top of the jars by at least 1-inch. Cover (whoops, I totally didn't do that!) and let process for about 10 minutes.
7. Taking care not to scald yourself with boiling water, molten hot jars of fresh jam or the steam coming off the two, remove the jars from the water and let cool at room temperature at least overnight. *Note: I had to process in two batches as I couldn't fit all the jars in at once. This didn't appear to pose any problem whatsoever.
By the next day, your jam should be nicely 'gelled' and thick. If it's too thin for your liking, there's ways to thicken it up, but that involves more pectin and re-processing. Hopefully it turns out just right so you don't have to go that route! One way to be sure your canning was a success is to test the tops of the jars - they should be sunken in and shouldn't make that popping sound when you press on them. Once processed, your jam will easily keep for a year in the pantry.
Enjoy!
Friday, June 12, 2009
once upon a time...
One spring evening several weeks ago, I came home to find a little package waiting for me. Much to my surprise and delight, it contained one of my favorite things.
Two oh so scrumptious violet cassis macarons from Paulette! I was overjoyed and immediately knew what to do as a thank you for this unexpected treat. What better way to show your appreciation for being sent some macarons than with...more macarons!
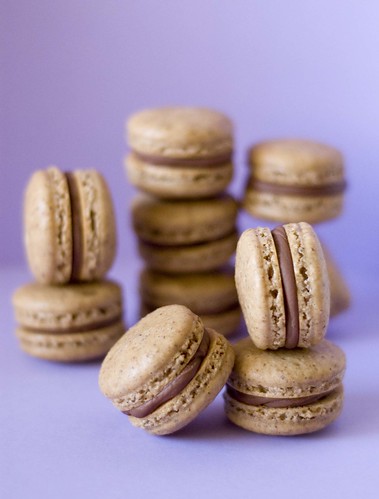
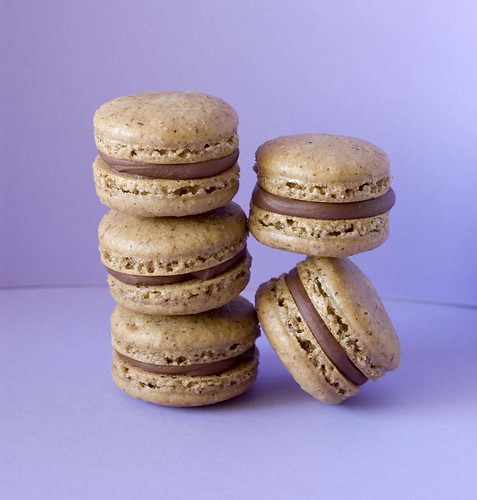
I happily whipped up a batch of espresso hazelnut macarons along with some milk chocolate ganache to fill them with. Everything turned out wonderfully and I was very pleased with the final product. I'd made this recipe before, but the espresso powder I had used previously was a little old, so the coffee flavor tasted a bit off. Not this time - the flavor combination was perfect.
Espresso Hazelnut Macarons
For the shells:
90 grams egg whites (about 3), aged 24 hours
30 grams granulated sugar
200 grams powdered sugar
55 grams hazelnut flour
55 grams almond flour
2 teaspoons espresso powder
1. Sift together the hazelnut flour, almond flour, powdered sugar and espresso powder. Set aside.
2. In a stand mixer, beat the egg whites. Slowly add the granulated sugar once they begin to get foamy. Continue to beat until you have a stiff glossy meringue. One test is to turn your bowl upside down and if the meringue stays put, it's stiff enough.
3. Now comes the tricky part! Gently fold in the flour mixture into the meringue. I usually do this in 3-4 additions. Mixing in each incorporation well before adding more. Some directions say to start mixing briskly, but I take it slow and gently fold the entire time. You can never be too careful with such a temperamental batter! What you're looking for is a consistency that is frequently referred to as flowing like 'magma'. Think, slow oozing mass. If it spreads out quickly, you've mixed too much.
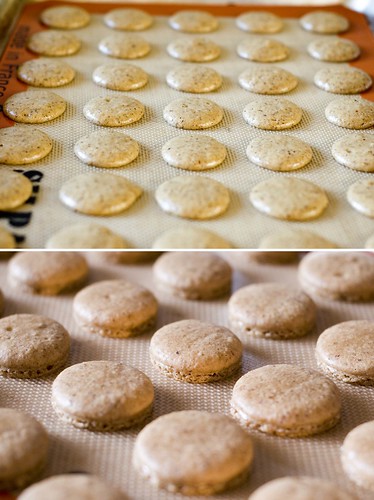
4. Add your batter to a pastry bag fitted with a plain tip and pipe into approximately 1" to 1 1/2" circles. (I use this template - print out two and tape them together to fit a sheet pan. Place it under your silpat or parchment to pipe the shells and remove it before baking.) One tip I learned about piping the shells is to hold the tip of your pastry bag right over the middle of the center of the template and pipe one large blob into the circle rather than pipe a spiral to fit into it. If you attempt the latter, your shells will never be smooth or evenly round. If a slight peak remains once the shell has been piped, dampen your finger with a bit of water and gently tap it down. Be careful not to have too wet of a fingertip otherwise the excess water will cause unsightly tumorous growths (love that blog btw!). They'll still be tasty, just not very pretty.
5. Let the shells sit out for at least 30 minutes to develop a slight crust or skin on top. You should be able to touch the top without feeling any stickiness (I usually let mine sit for an hour).
6. Bake at 300° F for 12-14 minutes. Be sure to know if your oven runs warmer or cooler and adjust your baking temperature. I personally have to bake mine at 310° F.
7. Let shells cool completely before filling.
160 grams milk chocolate, chopped
80 grams heavy cream
Place the chocolate in a heatproof bowl. Heat the heavy cream in a saucepan until it just starts to boil. Pour over the chopped chocolate and let sit for about 1 minute. Gently stir until all the chocolate has dissolved. Let cool to desired consistency.
Things I made in May
one of my favorite sights of spring
I saw this on another blog and thought it was a great idea. I wish I could give credit where it is due, but unfortunately, I don't recall whose blog I saw this on!
I kept a list for the month of May of things I baked, mostly to keep track of everything since I don't blog about it all. Sometimes I just don't have the patience or time to get out my camera and take photos as I go along (or the daylight, for that matter). I really surprised myself at how much I had written down just 11 days into the month! I was really on a roll I tell ya. A few of the items on the list I still plan to blog about but I just haven't gotten around to it yet. I've had quite the busy start to the month of June!
and now, for your reading enjoyment, I present, The List...
- dried strawberry macarons (2 batches)
- vanilla bean swiss meringue buttercream
- from scratch funfetti cupcakes
- chocolate date banana bread
- king arthur flour classic 100% wheat bread (3 loaves)
- milk chocolate chip buttermilk pancakes
- mini muffin bites
- espresso hazelnut macarons
- milk chocolate ganache
- vanilla sugar macarons
- orange & cream white chocolate ganache
- violet white chocolate ganache
- popovers with cinnamon & sugar (2 batches)
- chocolate muffins
- pickled grapes
- pain au chocolat cinnamon rolls
- chocolate hazelnut milk skin cake
- flourless peanut butter cookies
- apple strudel
- cannelé batter (had to freeze the batter to make the cannelés later)
- rhubarb sorbet
- baked garlic fries
Whew! I *think* that was all. I was pretty good about writing everything down. Not bad, huh? I'm off to a slow start for June, but we'll see what all I can whip up in the next few weeks.
Wednesday, June 3, 2009
Pain d'épices
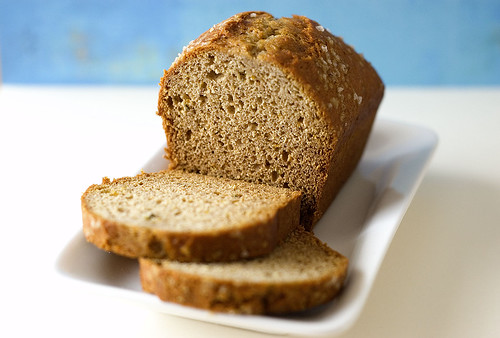
It might come as no surprise, but a majority of the things I make come directly from other food blogs. As soon as I read David Lebovitz's post about Pain d'épices, I was instantly intrigued. I will admit, the (relatively) low added fat content caught my eye (only half a stick of butter per loaf). Then, reading David's description of how the smell of the spices lingered in his apartment days after making it, well that pretty much sealed the deal. I had to make this. It sounded so good. Not to mention the combination of spices really piqued my curiosity. Pepper? Alongside cinnamon and nutmeg? Interesting.
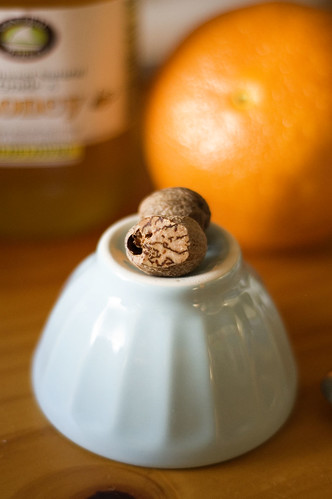
Since coming across this recipe, I've made it at least 4 or 5 times. It's just that good. It makes a perfect snack and is incredibly flavorful. Despite the low amount of butter in the recipe, this bread has a distinct buttery taste that sneaks up on you after you've first tasted the spices. It's really incredible. You can taste a hint of the pepper, but interestingly, it really works with all the other spices. It's very subtle and everything comes together with an amazing burst of complex flavors.
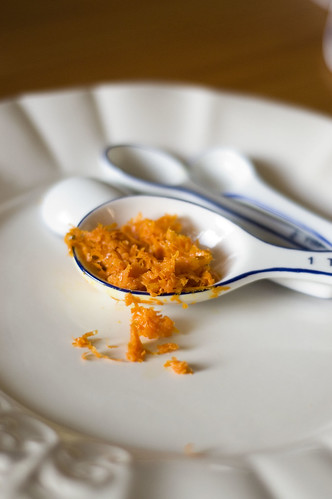
I've halved this recipe each time I make it, partly because I have no self control and would probably eat the entire loaf within two days, and party because the full recipe calls for a whole cup of honey. It just seems like a lot when you're looking at your honey supply, thinking you don't want to have to go buy more just so you can make this recipe. Half a cup just seems more reasonable.
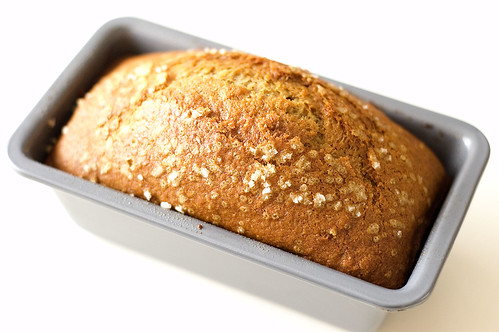
Since David gives measurments in in grams this recipe is easily divided using a kitchen scale. When it comes to the 1 egg in the recipe - I simply beat one egg, weigh it, then just use half by weight. I usually end up using the other half of the egg to make another batch within the week! Yes, I realize this defeats the whole purpose of making half a recipe at a time but hey, I don't always make sense. If you really wanted, you could probably just use one egg even if halving the recipe, but I haven't tried that yet. I doubt a little extra egg would hurt.
I also bake the halved recipe in two mini loaf pans (3 inch by 6 inch) and cut the baking time to about 30 minutes. Sometimes I like to sprinkle the top with fleur de sel. Yum. The bottom half of the loaf is usually a bit darker than the top half, not really sure why, but that doesn't bother me. I've tried reducing the baking time to prevent it, but for it to be fully cooked, the end result is always this way.
Some of the ingredients are a tad obscure and might not be stuff you have on hand (rye flour, anise seed, whole nutmeg) but they're easily found and well worth the effort of picking up.
You might be wondering, as I did, what the end result tastes like. I'd say it tastes somewhat like gingerbread, but not. It's spicy in a similar way to gingerbread, but definitely not the same. Spicy and buttery is how I would describe it. I like to eat it very lightly toasted with nothing on it, but a light spread of butter is even better. A drizzle of honey makes it sweeter and is equally as enjoyable.
Pain d'épices
adapted from Baking for All Occasions by Flo Braker (via David Lebovitz)
3 1/2 cups (455g) flour
1/2 cup (60g) dark rye flour
2 1/2 teaspoons baking soda
1 1/2 teaspoons ground cinnamon
1 1/2 teaspoons ground ginger
1/2 teaspoon salt
1/4 teaspoon freshly-grated nutmeg
1/4 teaspoon ground cloves
1/4 teaspoon freshly-ground black pepper
1/2 teaspoon whole anise seeds
2 ounces (55g) unsalted butter, at room temperature
1 large egg, at room temperature
1 cup (340g) honey
1 tablespoon finely-grated orange zest
1 cup (240ml) water
1. Preheat oven to 350º F. Spray a 9-inch loaf pan with non-stick spray.
2. Sift together the flour, rye flour, baking soda, all the spices and salt into a bowl. Sprinkle in the anise seeds.
3. In the bowl of a mixer fitted with the paddle attachment, mix the butter, egg, honey and orange zest (this can also be done by hand as well).
4. Alternately, add the water then dry ingredients in 3 additions, making sure to scrape the sides of the bowl between each addition.
5. Pour the batter into the prepared pan and bake for approximately 55-60 minutes, or until a toothpick inserted comes out clean. Let cool completely before slicing.
Storage: Pain d'épices can be wrapped in plastic and stored for at least a week, during which time the flavors will meld and it'll get denser. It can also be frozen for a few months.
Subscribe to:
Posts (Atom)